Geography
The WARDOGS maps
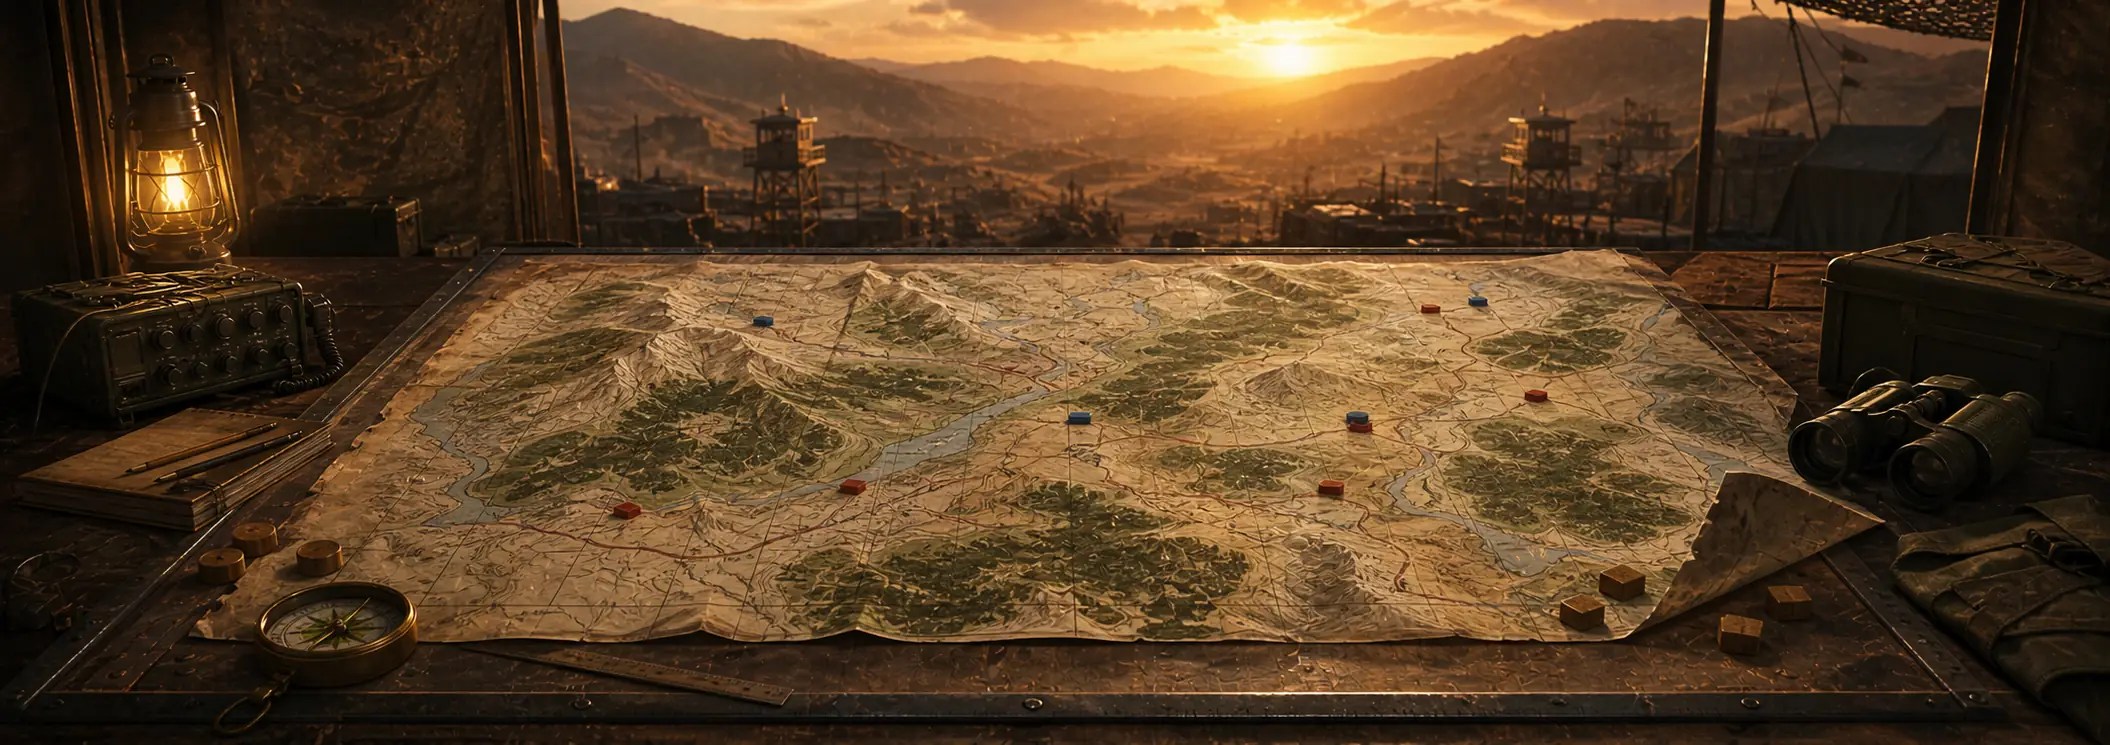
WARDOGS ships three maps, each 256 km² — 16 × 16 km of Kolchia, with a randomised 4 km² Control Zone deciding the match inside it. All three are explorable here at full resolution.
The maps
3 of 3 mapped
Bakurani and Ozeti are playable — Ozeti joined Bakurani in Closed Beta 02 on 3 September. The third arrives at or after Early Access.
Bakurani
Bakurani is Kolchia's river valley, and the only WARDOGS ground anyone outside Bulkhead has walked. One town holds the valley floor with cultivated parcels spreading around it, forested ridges climb steeply on both sides, and the canopy is dense and near-continuous above the treeline break. The valley road is the only sustained flat route across the map, which makes the high ground either side of it the whole argument.
- 16 × 16 km
- 16,384 px
- POIs · none yet
Ozeti
A hill town holds the valley floor — low buildings strung along one road, a walled stadium at one end, a church on the high ground above it — and the land around is orchard, dry field parcels and scattered pine. Cover is walls, treelines and terracing: thick once you are inside the town and close to absent on the open approaches, which makes getting there the hard part. The game files call this world Europe and the layout Madrid; Ozeti is the name the server browser prints.
- 16 × 16 km
- 16,384 px
- POIs · none yet
Zestafona
Arid high country, and the most open of the three. Irrigated field blocks follow a creek along the valley floor with scattered settlement between them, while the surrounding ridges are bare rock and low scrub with almost no canopy. Cover is agricultural and man-made rather than natural, so the approaches are long and exposed in a way neither other map is.
- 16 × 16 km
- 16,384 px
- POIs · none yet
Three scales, nested
A shifting sub-zone inside the Control Zone — double points, double cash
Players inside it count double towards their team's zone count, which Bulkhead describes as match-swinging.
Bulkhead, "WARDOGS — TOP QUESTIONS", Steam, 18 February 2026 ↗Kolchia — derelict industrial mountains of Eastern Europe
The war is over PV-1, a rare resource Bulkhead describes as fuelling decades of Eurasian conflict.
Bulkhead, "WARDOGS — TOP QUESTIONS", Steam, 18 February 2026 ↗The full battlefield is 256 km². The Control Zone is 4 km² of it, randomised every match. Inside that sits the Hot Zone, a shifting sub-zone where players count double towards their team's score and earn double cash.
That nesting is the whole design. The outer 252 km² is a logistics problem — getting a squad to the fight before it is decided. The Control Zone is where the match is won. The Hot Zone is where it is won fastest, and where everybody else is therefore standing.
It is also why transport is a purchase rather than a spawn option. Crossing that outer ring on foot costs you the match, so what the vehicle vendor charges to move a squad is a map decision before it is a combat one.
Kolchia itself is described by Bulkhead as war-torn, built around the fight for PV-1, a rare resource said to have fuelled decades of Eurasian conflict, across derelict industrial mountains with multiple locations and POIs.
There is no respawn timer
This is the part of the map that most WARDOGS coverage misses, and Bulkhead stated it plainly in the 11 August devlog: when you die, there is no countdown on your screen. You respawn in the safe zone, and the clock that matters is how long it takes you to get back to the Control Zone from there.
Bulkhead's framing is that your respawn timer is set by the choices you make from spawn — whether to buy a vehicle or catch a lift, which vehicle is fastest, whether that pilot can be trusted, and which route back is actually optimal. The studio is blunt that the travel time is the punishment for dying, and that this is deliberate.
Read against 256 km², that is what the size number actually means. A map this large is not a bigger arena; it is a map where death costs you minutes rather than seconds, and where the players who shorten that trip for everyone else — pilots and drivers — have a real job rather than a flavour role. It is also why Bulkhead lists Pilot among the named XP tracks.
On the terrain itself the consequence is specific. On Bakurani the valley floor is the only sustained flat route across the map, which makes it both the fast way back and the obvious place to be ambushed on the way.
What is the Hot Zone?
The Hot Zone is a shifting sub-area inside the Control Zone that doubles both your contribution to the zone score and the cash you earn while you are standing in it. Bulkhead documented it on Steam on 18 February 2026, and the rule is more aggressive than most summaries of it suggest.
Two things change at once:
- You count double towards your team's zone score. Not a points multiplier applied afterwards — your body is worth two bodies while you stand there.
- You earn double cash. The same actions pay twice as much.
Stack those and the Hot Zone is the highest-leverage ground in the game by a distance. Ten players inside it out-score nineteen outside it, which is why Bulkhead calls it match-swinging. It also shifts during the match, so holding it is a moving problem rather than a fixed defence.
The economic read matters as much as the tactical one. Because cash persists between matches, doubled income in the Hot Zone is not just a round-winner — it compounds into what you can afford for the rest of the session. Expect it to be the most contested 100 metres on the map, and budget your loadout for the fact that everyone else knows that too.
How much of it is in play
Roll the Control Zone to see how little of that ground decides a match.
Control Zone explorer
Terrain layer · coming soon
The Control Zone location is randomised every match.
- Full map · 256 km²
- Control Zone · 4 km²
- Hot Zone · size unknown
Not available yet
What those 60 locations are like to fight over lands with the beta
The explorer above now names 60 places, because the map files name them. What it cannot tell you is which of them is worth holding — that needs somebody to have stood on the ground, and the Closed Beta on 21–23 August is the first build in which it can be walked, logged and verified. Names are where a place is. This is what it does.
What will be here
- Cover, elevation and sightlines for each of the 60
- Where the Control Zone spawns, and how often
- How far the Hot Zone travels, and how fast
- Transit routes, and what a helicopter saves you
- Overwatch positions worth the climb
- Terrain for the other two maps
We would rather hold an empty page than fill it with guesses.The Closed Beta runs 21–23 August →
Common questions
How big is the WARDOGS map?
Each map is 256 km² — 16 × 16 km of ground. Only a randomised 4 km² Control Zone is contested at a time, so the other 252 km² is a logistics problem rather than a battlefield. The explorer above renders the full 16 km at roughly one metre per pixel.
How many maps does WARDOGS have?
Three at Early Access, each with three variations inside it, confirmed by Bulkhead in the 11 August devlog. One more is planned during Early Access; beyond that the studio has said to expect balance and fixes rather than regular content drops.Bakurani has been playable since the alpha and Ozeti joined it in Closed Beta 02; the third, Zestafona, was shown on 4 September and arrives at or after Early Access launch.
Can you explore the WARDOGS map online?
Yes — the Bakurani explorer is a full-resolution terrain layer you can pan, zoom and read grid references off, drawn from the game's own raster at about one metre per pixel. It marks 60 named locations, from Sunflower Church and the Lumberyard to the numbered towers, all clustered on the valley floor. The names are the map files' own; what each place is worth holding is what the beta settles.
Where is WARDOGS set?
Kolchia, described by Bulkhead as war-torn industrial mountains in Eastern Europe, built around the fight for PV-1 — a rare resource said to have fuelled decades of Eurasian conflict. Bakurani is the river valley in it.How WARDOGS works covers where the map sits in the wider design, and our methodology covers how every figure here is sourced.
WARDOGS interactive maps, and every location on them
Our WARDOGS maps cover all three Early Access battlegrounds at the resolution the game renders them — Bakurani in Kolchia is live now, with the two Early Access maps arriving after the Closed Beta. Every map is 16 × 16 km, drawn at about one metre per pixel, with a 1 km lettered grid so a position you call is a position someone else can find. Markers go on as the beta confirms them; the categories below are what they land in, and what each one decides.
Control Zone and Hot Zone objectives
The only objective markers that matter start here. A randomised 2 × 2 km Control Zone sits somewhere inside each 256 km² map, and a shifting Hot Zone moves inside that, doubling both your contribution to the zone score and the cash you earn while you hold it. First team to 100 points wins, across up to 100 players on three teams — so where the zone lands, and which approach your squad picks, is the whole match. Spawn spread and Hot Zone travel are the first things going on the map.
The towers are the part of that fight a team can steer: each capture gives a digit of a four-digit code, and the full code pulls the Hot Zone towards a tower you hold. How towers and the code work, and where every tower stands →
Overwatch positions, hard cover and chokepoints
Terrain decides engagements here more than loadout does. On Bakurani the ridges run steeply on both sides of the valley, the canopy above the treeline is dense and near continuous, and the valley floor carries the only sustained flat route across the map — which makes the climb either side of it worth the time it costs. Positions worth holding, the ground that has genuine cover, and the pinch points every route funnels through are the second layer.
Vehicle routes, bridges and landing zones
WARDOGS has no respawn countdown. You come back in the safe zone and the clock is however long it takes you to reach the fight, so the route is the mechanic —buy a vehicle, catch a lift, or walk and lose the round. Crossings matter disproportionately on maps built around rivers, and a helicopter landing zone is worth marking precisely because of what it saves. Transit markers are route planning, and they are the ones a squad uses most.
Towns, industrial sites and fortified positions
Kolchia is derelict industrial mountains, and the built-up ground is where fights concentrate — a town on a valley floor, works and outbuildings around it, outposts on the approaches. Builders change this layer during a match: Bulkhead has shown squads fortifying a POI or chokepoint, putting up bunkers, anti-air, refuel stations and radios, and deploying FOBs. Static structures get marked; what a team builds on top is the part that changes every round.
Ridgelines, treelines and open ground
The last category is the ground itself, and on a 256 km² map it is the one that decides how long everything takes. Bakurani is a forested valley where cover is continuous and movement is hidden. The North American map is arid high country where cover is agricultural and man-made and the approaches are long and exposed. Same size, completely different problem — which is exactly what terrain markers are for.
What the map explorer does
The explorer renders through WebGL at the game's native resolution, so pushing to full zoom shows individual buildings and road surfaces rather than an upscaled blur. Drag to pan, scroll or double-click to zoom, and hover anywhere for a grid reference and a distance readout in kilometres. A scale bar sizes itself to round distances as you zoom, brightness is adjustable for dark terrain, and a grayscale toggle strips colour when you want to read landforms instead of foliage. The filter rail is built for markers by category and switches between maps without leaving the page.
Worth knowing before the beta: the Control Zone is randomised every match, so no single route is ever the answer. What is worth learning in advance is the terrain — which ridges see which valleys, where the crossings are, and which approach stays hidden — because that is the part that does not reroll. The explorer above is there to be studied before 21 August rather than after it.
Read next
The game
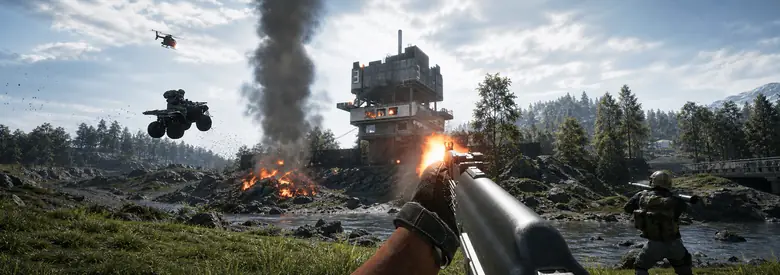
How WARDOGS actually works
100 players, three teams, and money that carries between matches.
Catalogue
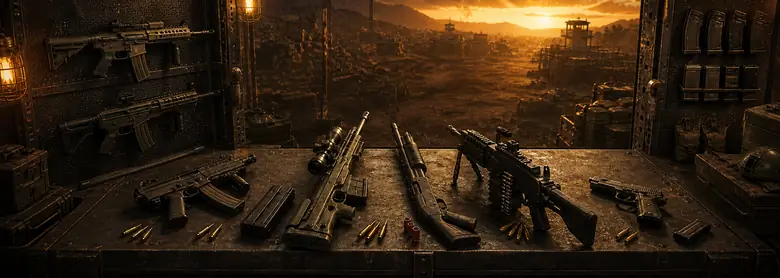
Every weapon we have recorded
The Closed Alpha roster, tab by tab.
Tier list
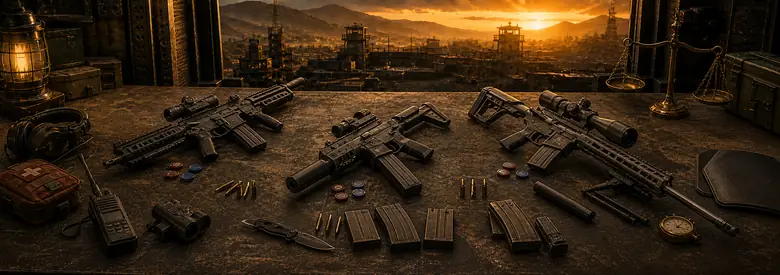
Why cost is the WARDOGS meta
A weapon that wins fights can still be the wrong buy.
Live
Are the servers up right now?
Player reports from the last 24 hours and the live Steam count.