A Forward Operating Base costs $7,500 in Season 1. You will see $2,500 quoted, which was the beta price, and $3,750, which is what the vendor shows anyone below Wardog level 9 — the New Recruit Discount halves the tile until then. Budget for the full figure.
This guide is the building side: what a base does, where to put one, which hammer builds what, how to keep it supplied and how to stop somebody walking in and taking it. Prices, unlock gates, what a base contains, where it can go and what each hammer builds are Season 1. The rest comes from the betas and is labelled that way. If you are here to knock one down instead, that is how to destroy a FOB.
At a glance
| Item | Price | Unlock |
|---|---|---|
| Forward Operating Base | $7,500 | none |
| Small Hammer | $100 | none |
| Medium Hammer | $800 | Support 3, $25,000 |
| Large Hammer | $2,400 | Support 8, $75,000 |
| Build Supplies | $10 a unit | none |
The unlock is a one-off payment at the level shown; the price is what you pay every time after that. Both hammer gates moved in the Season 1 changelog — the Medium from $10,000 to $25,000, the Large from $25,000 to $75,000 and from Support 7 to 8 — so older guides that put the Large Hammer at level 7 are a patch behind.
Buy the base, then the hammer
The FOB is an item before it is a building. It weighs 6.5 kg, takes a 2x3 space in your inventory, and does three things once it is down: it lets you build larger structures, it holds items and resources for the team, and it draws a radius inside which anyone can build. Everything else in this guide happens inside that circle.
Do not buy a hammer for your first base. A FOB arrives with a small and a medium hammer inside it, which is enough to put up Hesco walls, gates and doors straight away, so open the base before you spend $800 on a hammer you already own.
The price rise is the thing to plan around. At $2,500 a FOB was something you dropped on a whim. At $7,500 it is most of a new player's opening cash, and Bulkhead's stated reason for the change was to make it "more of a choice". Treat it like one.
Place it where you can hold it
A FOB is only worth its price if it is still standing twenty minutes later, so placement matters more than anything you build on it.
Three placement rules apply, and they differ in how firm they are:
| Rule | Status |
|---|---|
| Not inside a building | Confirmed |
| Not inside your team's spawn base | Reported |
| Not inside the radius of another FOB | Reported |
The building rule holds in Season 1: a FOB will not go down indoors, so the move is open ground beside a structure rather than inside it. The other two are consistent across beta players and several guides.
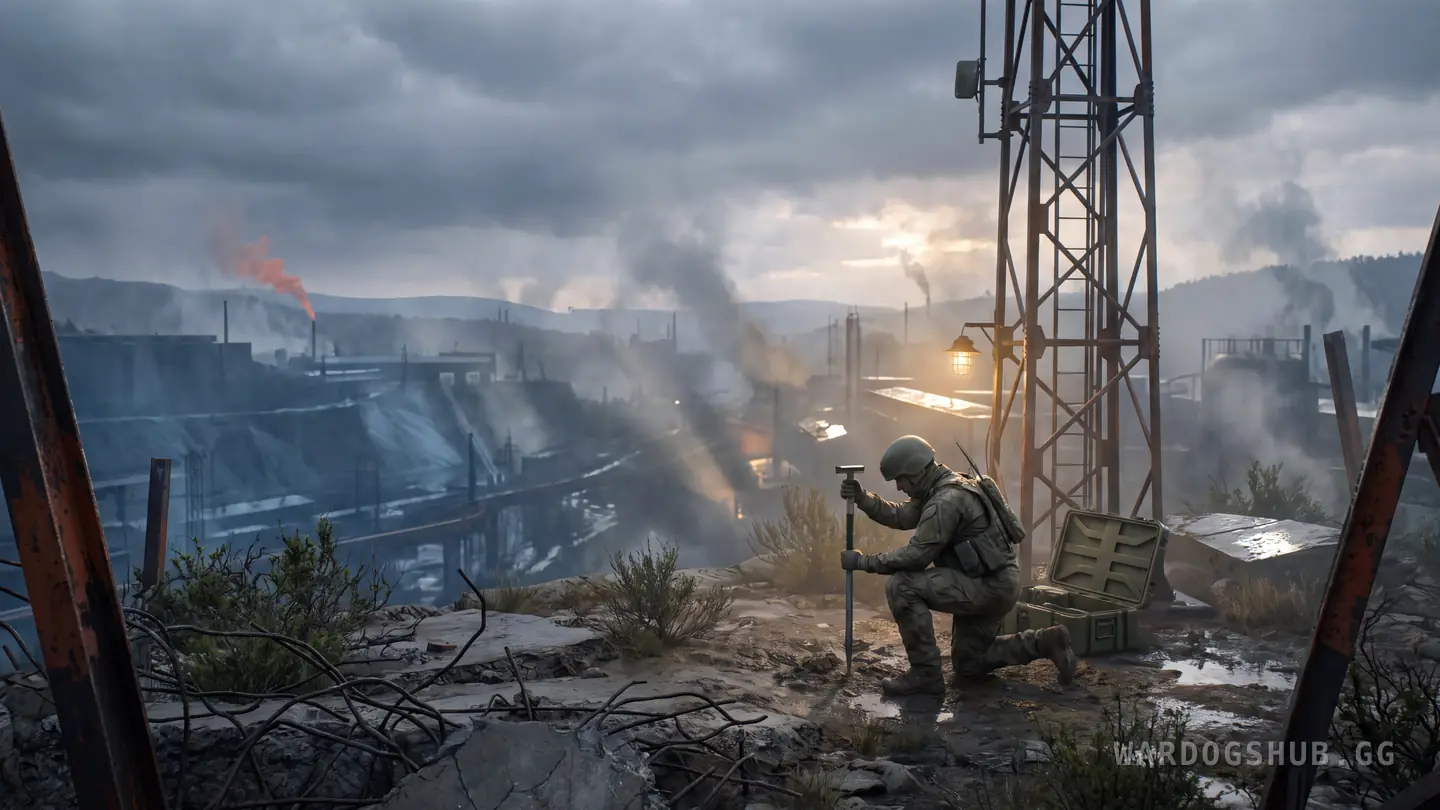
Where people actually build is near the towers. A tower is the thing your team is trying to hold, and a walled base beside it turns a capture into a position — the towers guide covers why they matter. The other popular choice is behind the lines, outside the fighting entirely, where a base survives longer because nobody walks past it.
There is no reported cap on how many bases a team can field; the radius rule is the only limit players have found, and one player reported reaching nine in a match. A second base is cheaper insurance than a perfect first one.
One more reason to care about location: beta players reported that a drill rig built at a FOB pulls the Hot Zone toward it. If that holds in Season 1, where you put the base decides where the fight goes.
Keep it fed
A base without supplies is a fence. Every structure is paid for in Build Supplies, and the FOB works with four supply types, each with its own job:
| Supply | What it does |
|---|---|
| Build Supplies | The resource every buildable costs; needs any hammer |
| Ammo Supplies | Reloads buildable weapons such as the mortar |
| Fuel Supplies | Refuels vehicles |
| Mechanical Supplies | Repairs vehicles; drones draw on them |
The last three only work inside a FOB radius, which is the whole point of having one near the fight. Each costs $10 a unit loose. In bulk they come on pallets, which a truck brings in: players report the Ural carries two, and a pallet delivered to a base pays its driver as well as the team. The full run — what to haul, what it pays and which vehicle — is in the logistics guide.
Carry a stack of Build Supplies with the base itself. The first walls go up in the first minute, and you do not want to be waiting for a truck while you do it.
Match the hammer to the job
There are three hammers, and they do not build the same things:
| Hammer | Builds | Speed |
|---|---|---|
| Small | Small buildables only | Slow |
| Medium | Basic and large buildables | Moderate |
| Large | Every buildable | Fast |
In practice that means sandbags and small cover on a Small Hammer, walls, gates and doors on a Medium, and emplacements — the mortar, the anti-air turret, the drill rig — only on the Large. That Support 8 gate is the real threshold of FOB play: before it you build defences, after it you build weapons.
Two things speed any hammer up. Players reported that hitting the yellow marker on a structure builds it roughly four to five times faster than swinging at the frame. And anyone can finish a structure someone else placed, so a Support player with a Large Hammer can lay out the emplacements and let the team's cheaper hammers do the swinging.
Wall it, then close the door
A FOB can be hacked. Beta players timed it at around 30 seconds and described it as loud, which makes it a squad play rather than a solo one — but a base with an open side is a base that gets taken while its builders are at the tower.
So the order is walls first, then a door, then everything else. The layout beta players settled on:
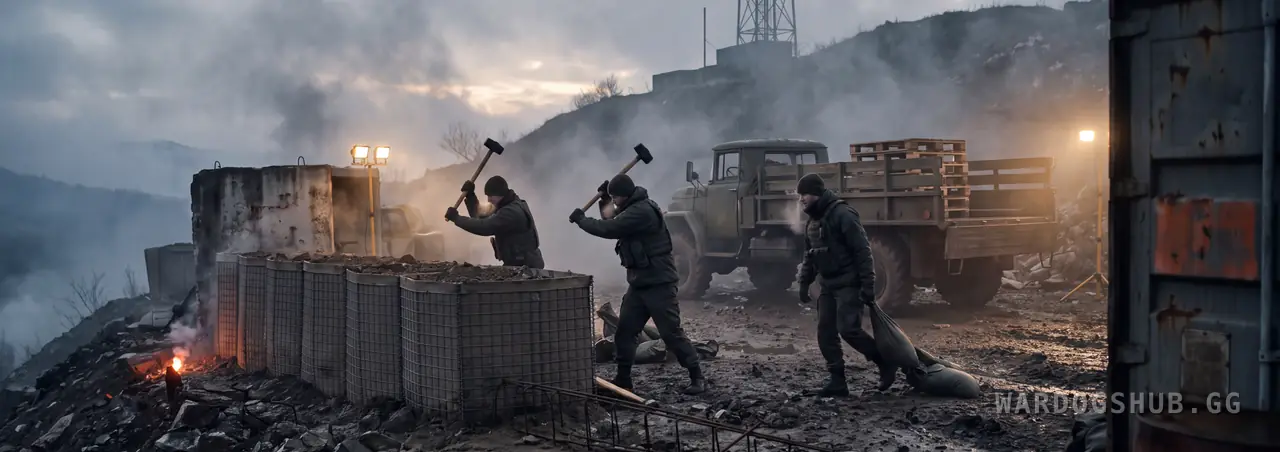
- A Hesco perimeter around the FOB itself, not just the emplacements.
- A gate or door in it, because a wall with a gap is decoration.
- A bunker from two Hesco barriers with sandbags between them and two more sandbags on top.
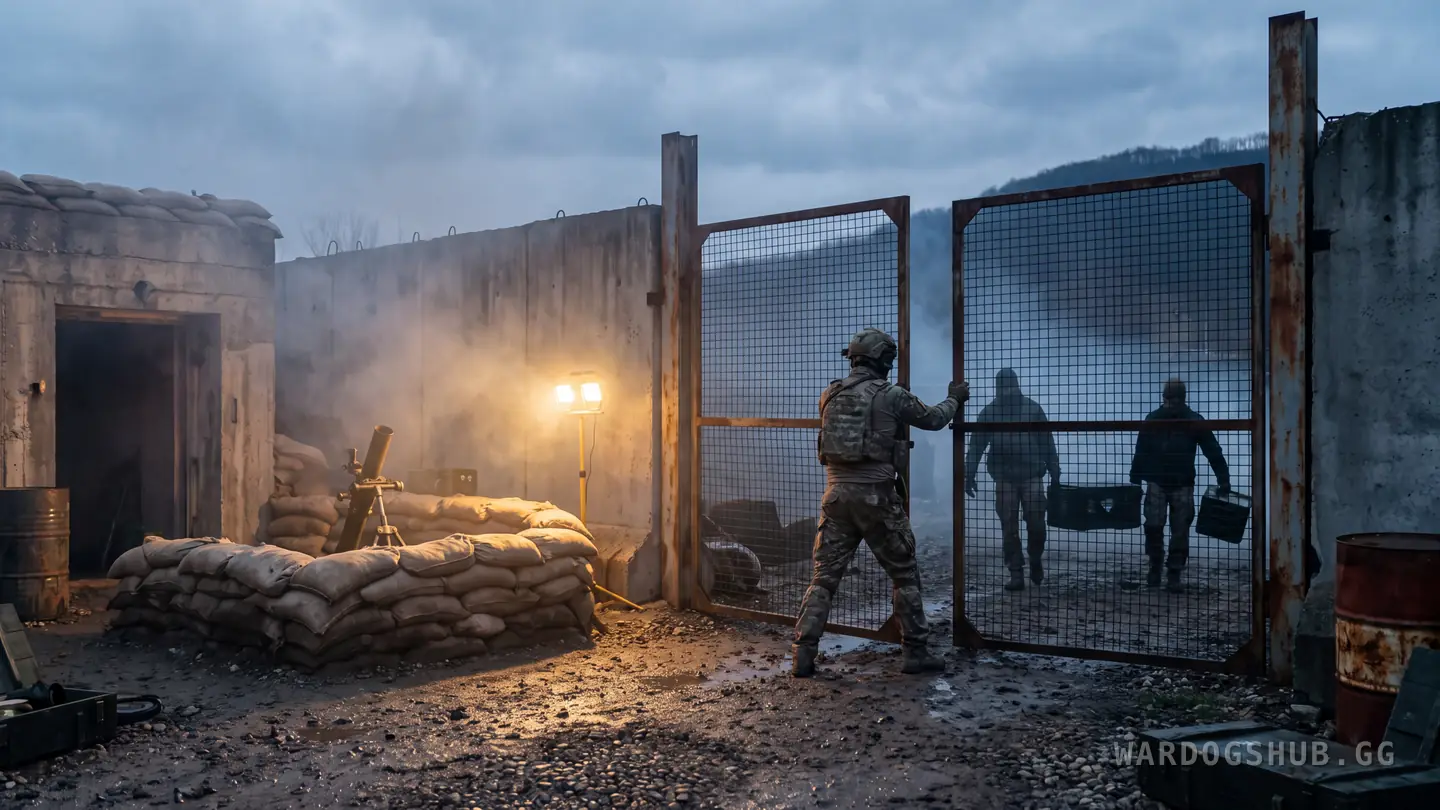
Then shut it. One of the most upvoted pieces of FOB advice from the betas was three words long — close the door — because the commonest way to lose a walled base was a teammate leaving the gate open behind them. A shut door is not the end of it: players reported that a Halligan bar pries FOB doors open, so a door buys time rather than immunity.
What walls do not stop is explosives. Beta players reported that a single $300 Improvised Explosive Device destroys a FOB outright, and repairing a damaged base pays nothing, so keep a player inside the radius while the rest of the team is away. The destroy guide shows it from the raider's side, which is worth reading before you decide how much wall is enough.
Build the guns last
Emplacements are where a FOB starts paying back its price, and they all sit behind the Large Hammer. Players reported building:
- The L81 mortar, which fires by converting the base's Ammo Supplies into shells. The artillery guide and the WARDOGS mortar calculator cover using it.
- An anti-air emplacement for helicopters, and a minigun turret for close defence.
- Kamikaze drones, which draw on the base's Mechanical Supplies.
- The drill rig, which players reported pulls the Hot Zone toward the base.
The dependency is the lesson. A mortar with an empty ammo store is a sculpture, and an enemy who destroys the FOB switches off every emplacement drawing on it at once. Build the guns after the walls and after the supply run, never before.
What building pays
Building is also one of the fastest ways to level Support. Every swing pays XP and cash, and a finished structure pays a larger sum on top. Beta players reported that placing a structure for a teammate pays you on every one of their swings too, and one match of nothing but building came within nine points of Support 7 and about $100,000.
The base price tripled in Season 1; the pay per swing did not move. The full route, and where it fits against the other tracks, is in how to level up Support.
What nobody has confirmed
- What each structure costs in supplies. Figures circulate; none of them come from an official page, and they do not agree with each other.
- The spawn-base and radius rules, which rest on player reports.
- Whether you can spawn at a FOB. Players say no. Bulkhead has not said either way.
If you settle any of those with something repeatable, send it over — corrections go up with a date on them, and how we work sets out what we print. Until then: buy the base, wall it before you arm it, and close the door behind you.