A Humvee costs $3,000 to spawn. The first launcher the game says can hurt one costs $30,000 to unlock, and you need Support 5 before you can pay it. That gap is the whole complaint in the forum thread asking Bulkhead to nerf the Humvee, and it is also the answer: you do not beat a vehicle with the weapon built for it until you can afford it, so you beat it with the cheap one.
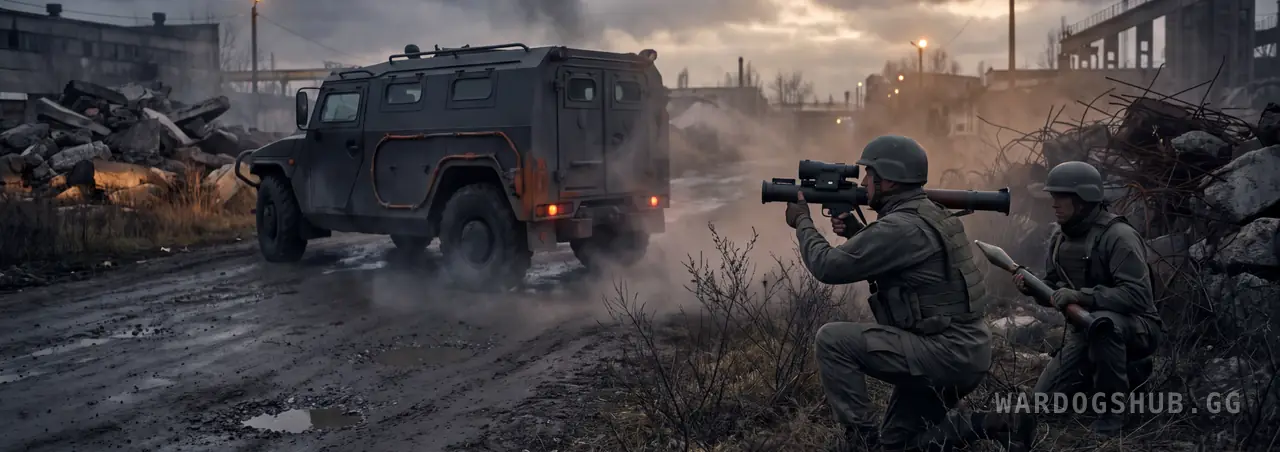
This guide is what stops Humvees, trucks and tanks, where to hit each, and what every option costs to get. Prices and unlock gates are Season 1. What we do not have is the number everyone wants — how many hits each launcher takes to kill each vehicle — because nobody has published it, and this page says so rather than guessing.
At a glance: what each answer costs
| Weapon | Price | Unlock | What its card says |
|---|---|---|---|
| Improvised Explosive Device | $300 | none | Remotely detonated, single use |
| C4 Charge + Remote Detonator | $250 + $550 | Support 2, $15,000 | — |
| RPG-7 | $2,000 | Support 5, $30,000 | Infantry and light armoured vehicles |
| AT Mine | $650 | Support 25, $75,000 | Triggered by vehicles only |
| MAAWS | $2,600 | Support 20, $125,000 | Light and armoured vehicle targets |
| MGL-40 | $6,000 | Support 35, $200,000 | Infantry and unarmoured vehicles |
| Claymore | $900 | Recon 22, $50,000 | Triggered by infantry and vehicles |
| AMR 50 | $8,800 | Recon 35, $200,000 | Armoured targets and vehicles at long range |
The unlock is a one-off payment; the price is every time after that. Read the last column before you buy, because the cards are more precise than the names. The RPG-7 does not claim tanks. The MGL-40, the most expensive launcher on the list, does not claim armour at all. The MAAWS is the one that does.
Humvees: glass, tyres, then engine
The armoured Humvee is the vehicle most players meet first and the one they complain about most, and the reason is simple: small arms do not go through the glass. You cannot shoot the crew while the gun on the roof shoots you.
So stop shooting the crew:
- Take the tyres. It keeps driving on the rims, so this is not a kill, but it slows the vehicle and wrecks its steering. Crews on rims hit trees.
- Then the engine. That is what actually disables it.
- Then finish it with whatever you brought — a device, a launcher, or the team.
The gated versions are why it gets worse over a match. The plain Humvee sits at Driver 15, the M249 at Driver 25, and the Minigun at Driver 30 — each spawning for under $5,000, each harder to stand in front of than the last.
On a new player's wallet, the answer is the $300 device: no unlock, plant it where the Humvee is going or on the vehicle itself, walk away, call it in. The three-beat process and its delays are in the tips guide. A full level-6 anti-vehicle kit costs less than the vehicle it is hunting.
Trucks and pickups: they are not armour
The Kodiak pickups, the Ural and the Dune Buggy are all wheeled, and the same order works on every one of them: tyres, then engine. A disabled truck on a supply run also strands whatever it was carrying, which is often worth more than the truck.
This is where the MGL-40's card is honest. It is built for infantry and unarmoured vehicles, so against a Kodiak full of passengers it does both jobs at once. Against a Humvee, by its own description, it is the wrong tool — and at $6,000 a shot behind a $200,000 unlock, an expensive one.
The supply lane is where an AT Mine earns its place. It only triggers on vehicles, so it waits on a road the enemy's logistics trucks have to use without killing your own infantry walking over it. Whether one mine destroys a truck or only disables it has not been published.
Tanks: go round the front
The L2A6 is the top of the Driver track — Driver 35, a $500,000 unlock and $14,000 a spawn — and its front is the part not to shoot. A strip of reactive armour low on the glacis soaks frontal hits as one shared pool over the hull, and the crew can repair it.
Go round it instead:
- The engine deck at the rear. The real weak spot.
- The tracks. Will not kill it; will immobilise it, which against a tank is close enough.
- The fuel tank. Damage there makes it burn fuel faster, a slow kill for a crew far from a refuel point.
Two answers stand out. The MAAWS is the launcher whose card claims armoured targets, which the RPG-7's does not. And players report that an explosive device planted directly on the rear engine deck kills a tank in one — a $300 answer to a $14,000 vehicle, if you can get to its back. That one is a community finding, not a published rule, but it is a cheap experiment.
A tank that is full is harder to kill than a tank that is not: the main gun reloads faster with more crew aboard, so a three-seat L2A6 gets more shells away than one driven solo. The tank-crew section of the tips guide covers it from the inside.
The turret cannot keep up with you
This is the change in Season 1 that nobody has written about, and it is the best reason to flank. The changelog, in full: "Vehicle turrets now have a maximum operator rotation speed."
Before it, a gunner could swing a turret as fast as they could move a mouse. Now there is a ceiling, so a player who crosses a vehicle's flank quickly can get round faster than the gun can follow. From here it is our reading rather than a published figure — Bulkhead gave no number — but it points one way: approach from the side, move across the vehicle rather than towards it, and make the gunner turn.
It matters most against the slow ones. The L2A6, the Flakpanzer Gepard and the SPH-2 all top out at 65 km/h, and the Gepard carries only two crew.
Your counter has a counter: repair
Every vehicle has separate repair points — hull and engine, each tyre, the fuel tank — and a crew with a drill can undo a tyre kill. So a disabled vehicle is a window, not a result. Finish it while the crew is out of it and working, which is also when they are not in the gun.
The repair tools themselves, from the $150 wrench to the $1,300 Heavy Drill at Support 28, are in the tips guide. If you are the crew, keep one aboard.
What nobody has confirmed
- How many hits kill each vehicle — RPG-7, MAAWS, C4, AT Mine or AMR 50 against a Humvee, a Ural Defender or an L2A6. No vehicle health or armour figures have been published.
- Whether an AT Mine kills, disables or only damages each class.
- Whether armour-piercing ammunition helps against vehicles at all.
- Whether a device on the tank's rear deck still kills it in one in Season 1.
If you settle one of those with something repeatable, send it over — the table above changes with a date on it. Until then: tyres, then engine, round the back of anything with tracks, and bring a $300 device before you have $30,000 for a launcher.
Planning to hit a base rather than a vehicle? That trade is in how to destroy a FOB.