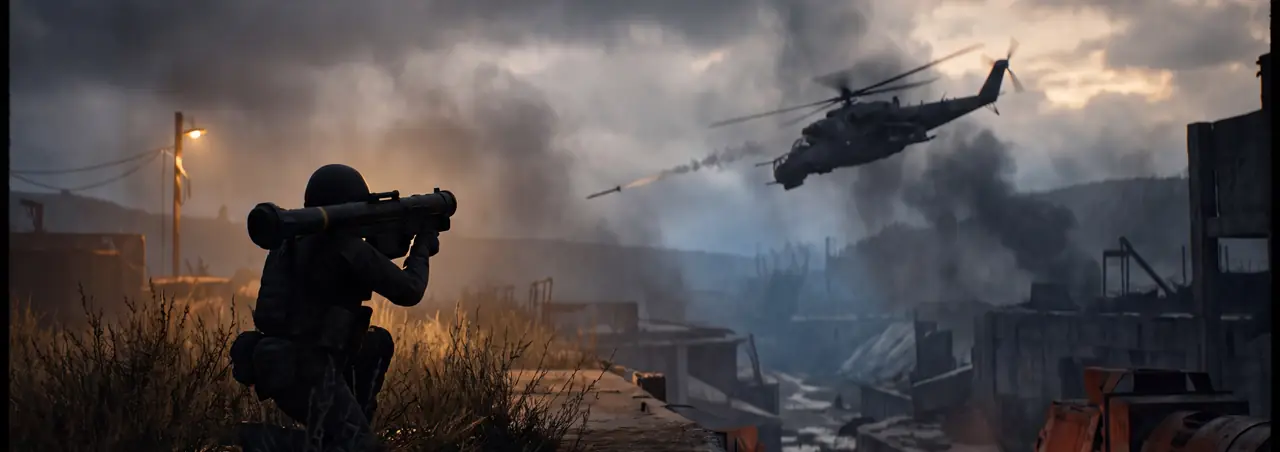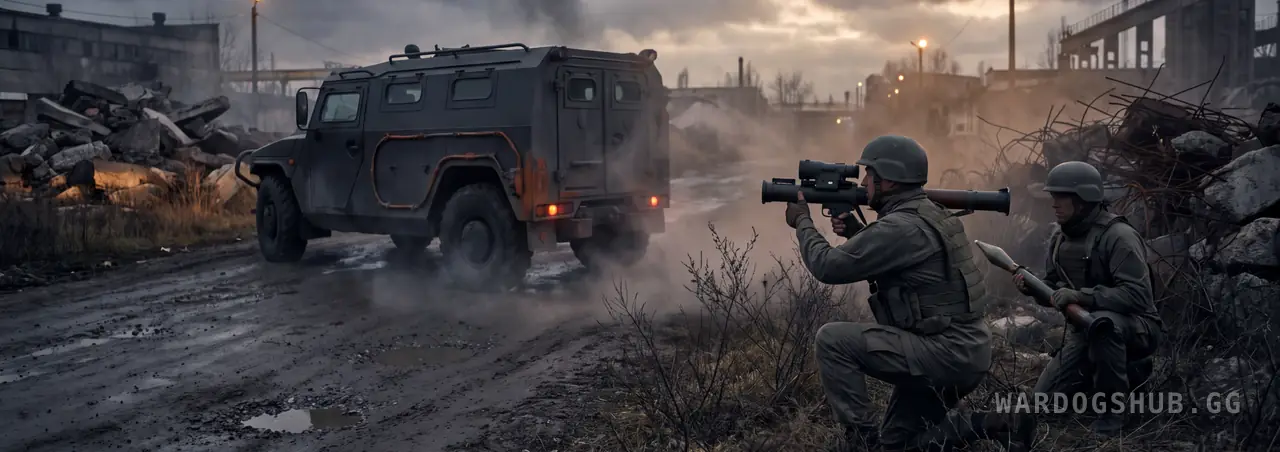
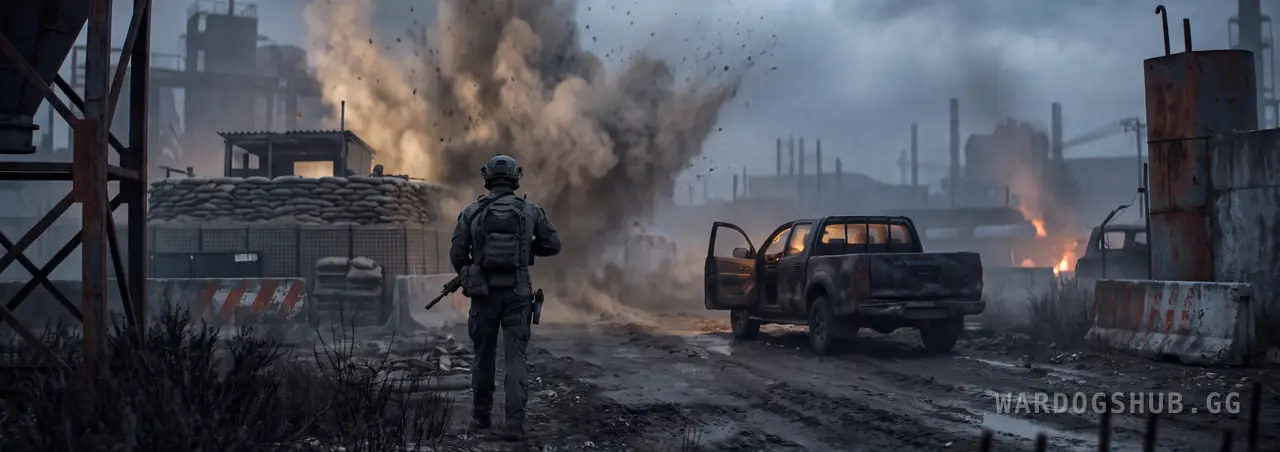
A Forward Operating Base is the most expensive thing most WARDOGS squads will ever put on the ground. It costs $7,500 at the vendor, it is what lets a team build walls, gates, turrets and mortars anywhere near it, and it holds the supplies somebody drove to the front to fill it with.
The cheapest reliable way to remove all of that costs $300, needs no unlock level, and pays you for doing it.
The maths: $300 against $7,500
Set the two sides of the trade next to each other, because this is the most lopsided exchange rate in the game.
| Cost | |
|---|---|
| A Forward Operating Base | $7,500 |
| Plus everything stored inside it | whatever the team drove there |
| Plus the walls, gates and emplacements built in its radius | build supplies at $10 a unit |
| One Improvised Explosive Device | $300 |
And then it pays you. In Closed Beta 02 a destroyed FOB returned $2,500 and 500 Support XP to the player who killed it — so the device covered its own cost eight times over and moved you up the Support track while doing it.
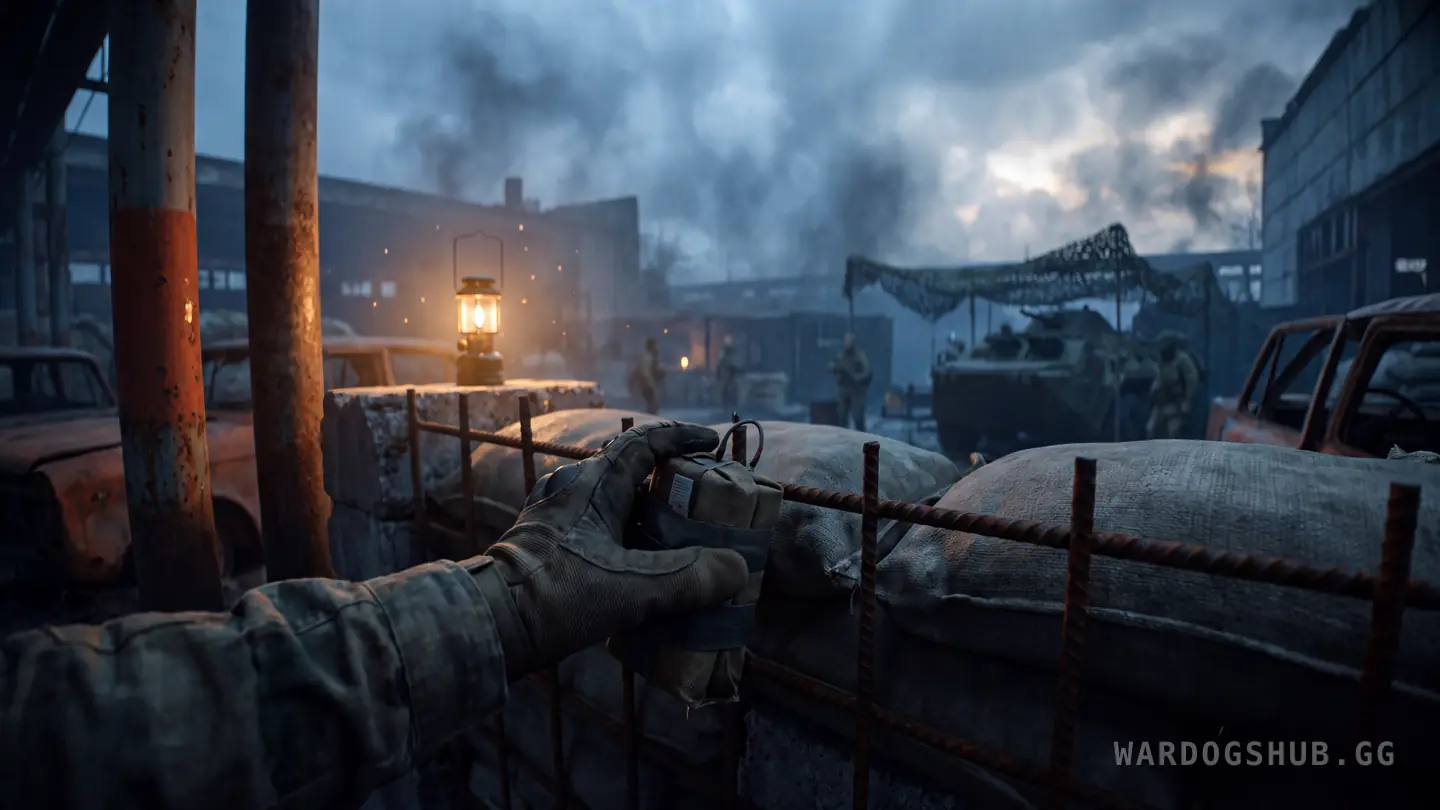
Here is the part worth thinking about. That $2,500 payout was, at the time, exactly what a FOB cost to buy — the beta price was $2,500 too. Season 1 tripled the purchase price to $7,500, in Bulkhead's words "so they are more of a choice", and said nothing about the bounty.
From here it is our model: if the payout was tied to the target's value rather than being a flat number, a FOB is now a $7,500 kill. If it was a flat figure, it is still $2,500 and the trade is merely very good instead of absurd. Either way the device pays for itself many times over, and the first player to check which it is has a genuinely useful thing to tell everyone.
Plant it on the FOB itself, then walk away
The device is a three-stage job and every stage has a delay built into it. Rushing any of them is how people blow themselves up.
- Plant. Walk up until the placement marker turns green and place it. It attaches to structures, vehicles and bare ground alike. There is a short animation.
- Call it in. Detonation is a right-click that starts a phone call — four or five seconds of animation and ringing.
- Wait again. It does not fire when the call connects. There is a further delay after that.
So the pattern against a static target is plant, leave, then detonate from cover. Do not stand next to a FOB admiring your work while the call rings.
Two details that change how you play it. The device is single use — its card says so — so a raid needs one per base you intend to kill, and at $300 each that is still cheap. And if you are downed after planting and a teammate revives you, the device is still yours to detonate. Being on the floor is not the end of the plan, which matters a great deal when you are working inside somebody else's base.
What else kills a FOB, and what it costs
Nothing else is reported as a one-shot. Everything below is a sustained effort against a structure that will be defended while you work, and the price is what it costs you to bring:
| Method | Cost | Gate |
|---|---|---|
| Improvised Explosive Device | $300 | none |
| C4 Charge | $250, plus a $550 Remote Detonator | Support 2, and $15,000 for the detonator |
| RPG-7 | see catalogue | Support 5, $30,000 |
| MAAWS | see catalogue | Support 20, $125,000 |
| L81 mortar | build supplies at a FOB of your own | needs a base and its ammo supply |
| SPH-2 self-propelled gun | $500,000 unlock | Wardog 90 |
The C4 comparison is the one that makes the case. A charge is cheaper than a device at $250, but it is inert without the Remote Detonator, and that is $550 at the vendor behind a Support 2 gate and a $15,000 unlock. The IED needs none of it. On day one, at level nothing, it is the only anti-structure tool you can actually buy.
At the other end, artillery is the correct answer if you already have it. A dug-in base cannot move, which is exactly the target a lobbed shell is for — the artillery guide covers the ranges. But the mortar needs a FOB of your own to sit at, which makes counter-battery work a logistics problem before it is a gunnery one.
Hacking is the other option, and it is loud
You do not have to blow a base up. A FOB can be hacked, which beta players timed at roughly 30 seconds and consistently described as loud.
That difference decides which one you should be doing. Thirty noisy seconds standing still inside enemy ground is a squad play: somebody holds the approach while one player works, and the reward is that you keep the base, its radius and everything in it. On your own it is close to impossible, which is why solo raiders destroy instead — you cannot realistically capture and hold a FOB alone, but you can absolutely delete one.
Find the base before you plan the raid
FOBs cluster where the building is worth doing, which means near the towers — the towers guide explains why a team wants to fortify one. Increasingly they also sit outside the operating area entirely, behind the lines, because a base does not need to be in the circle to be useful and one out of the way survives longer.
Before you commit, know what you are actually achieving. Players report no hard limit on how many FOBs a team can field. The constraint is proximity: a new base cannot be placed inside the marked radius of an existing one, and beyond that a team can keep going — one player reported reaching nine in a single match. So killing one base is a raid, not a knockout. If you want to break a team's logistics you are looking at a campaign, and the ones worth hitting are the bases with mortars and turrets built around them.
What you actually break
A FOB is not a building with a health bar attached to nothing. Taking one out removes four things at once:
- The build radius. No base, no walls, gates, doors, turrets or emplacements placed near it.
- Everything stored inside. The base holds items and resources for the team to draw on, and beta reports are consistent that it all goes with the base.
- The mortar's ammunition. The L81 works by converting the base's ammo supply into shells, so a mortar that survives the blast can be left with nothing to fire.
- The drones. Kamikaze drones draw on mechanical parts held at the base. Same problem.
That last pair is why hitting the base beats hitting the emplacement. An emplacement is a target you have to destroy. A base is a target that turns several emplacements off.
The saboteur kit
The loadout beta players settled on for this is worth writing down, because it does two jobs with one vehicle: a pickup with a stack of anti-air launchers in the bed, one launcher carried, one Improvised Explosive Device and a couple of C4 charges. Then you go behind the lines and hunt helicopters and bases with the same trip.
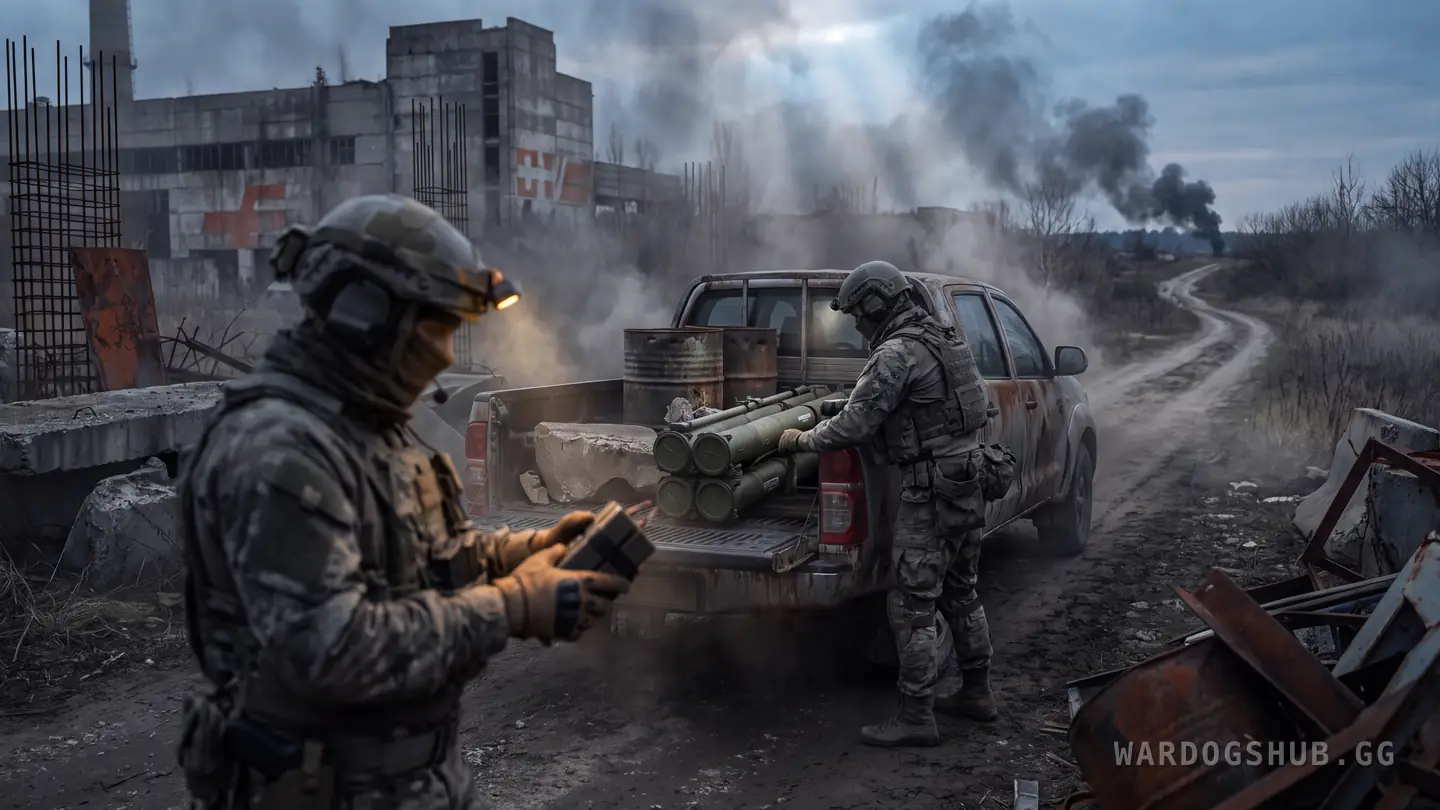
The logic is that both target types are found in the same place — away from the fighting, where transport helicopters come in and where the enemy puts its bases — and neither needs you to win a gunfight. It also levels the right tracks: destroying vehicles and structures pays Support, which is the track the Support guide shows is the fastest to level anyway. FOB hunting is a real route from Support 2.
What nobody has published
Four things, and the first is the one this whole page rests on:
- Whether a FOB really dies to one device, and what its health actually is. Two independent beta accounts say one is enough. Bulkhead has published nothing.
- What a FOB kill pays in Season 1. The beta figure was $2,500 and 500 Support XP, against a base that then cost $2,500. The base now costs $7,500.
- Whether a team can spawn at a FOB. This is asked constantly and has never been answered on an official page, and it changes how urgent a raid is.
- Whether there is a cap on FOBs per team, as opposed to the proximity rule players have found.
If you settle any of those with something repeatable, send it over — corrections go up with a date on them, and how we work sets out what we will and will not print. Until then: buy one device, walk in from the side nobody is watching, plant it on the base and call it in from behind a wall.