Most artillery guides for this kind of game stop at the moment you have a number. Here is your azimuth, here is your elevation, go and dial it. That is the easy half, and it is the half a calculator can do for you — our mortar and artillery calculator gives you both numbers in two taps, with the height between gun and target already corrected for.
The half nobody writes about is that the number is not a hit. Both WARDOGS platforms have a grouping built into them that is wider than people expect, and once you know how wide, the job changes shape: you stop trying to calculate a kill and start trying to land a first shell close enough to correct from.
This guide covers both indirect platforms as they stand in Season 1, which arc to fire, how to walk rounds onto something that is moving, and what to do about the mortar meta that has taken over the first fifteen minutes of a match.
Get the first shell in the air
Three numbers put a shell somewhere. Azimuth is a compass bearing from your gun to the target — 0° is north, 90° is east — and it is what you traverse to. Elevation is what you dial on the barrel, measured in mils, and it decides how far along that bearing the shell comes down. Distance is the sanity check between them.
Get azimuth wrong and you miss sideways, which is obvious and easy to fix. Get elevation wrong and you miss long or short along the correct line, which looks like a near miss and is the one that wastes shells.
The two platforms split the map between them:
| Platform | How you get it | Range, level ground | Sight | Grouping |
|---|---|---|---|---|
| L81 mortar | Built at a FOB, fed from base ammo | 52–685 m | 120–950 mil | 50 MOA |
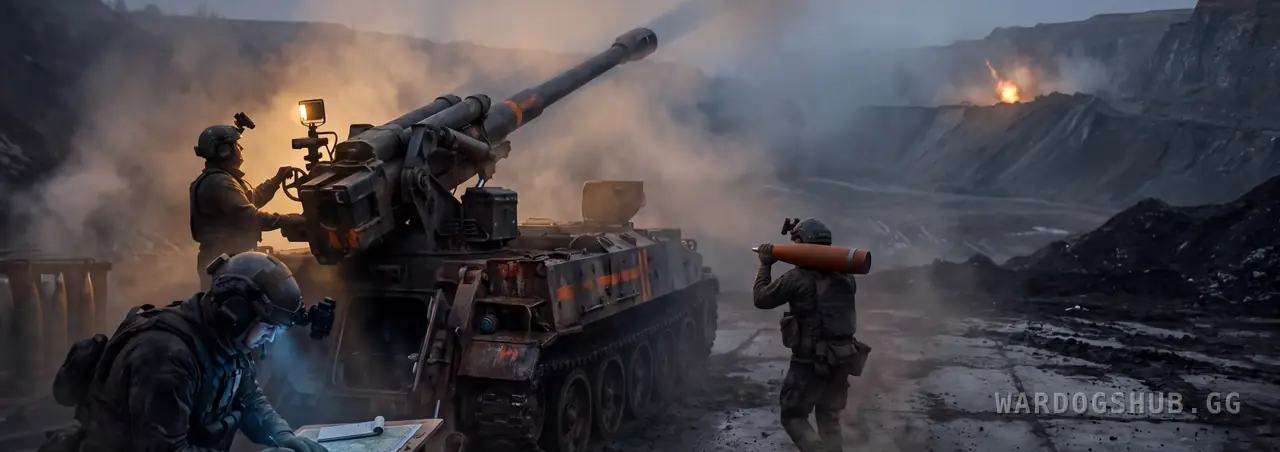
| SPH-2 | Bought as a vehicle, 3 crew | 745–2,660 m | 0–1,400 mil | 10 MOA |
The two are not the same kind of asset, and that matters more than the calibre does. The SPH-2 is a vehicle you buy and drive, with three seats and its own fuel. The L81 mortar is an emplacement: you build it at a forward operating base and it converts the FOB's ammo supply into shells. That makes the mortar a logistics problem before it is a ballistics one — no FOB, no supply, no fire mission.
It also means the mortar is a team weapon in a way the SPH-2 is not. One player on the tube, one player who can actually see the target, calling corrections. Alone, you are firing at a map.
Pick the arc before you pick the elevation
The mortar has one trajectory, so there is nothing to choose. The SPH-2 has two, and choosing between them is the most consequential decision you will make at the gun.
The low arc is the flatter shot. The shell spends less time in the air, which is the whole argument for it: against anything that is moving, time of flight is the difference between hitting a vehicle and cratering the road behind it. Fire low whenever the target might not be there in ten seconds.
The high arc lobs the shell up and drops it in steeply. It is slower and it is the one you want when something solid sits between you and the target. Bakurani is a river valley with forested ridges climbing both sides, and a flat shot into a reverse slope hits the slope. If your target is behind a ridge, the high arc is not a preference, it is the only thing that reaches.
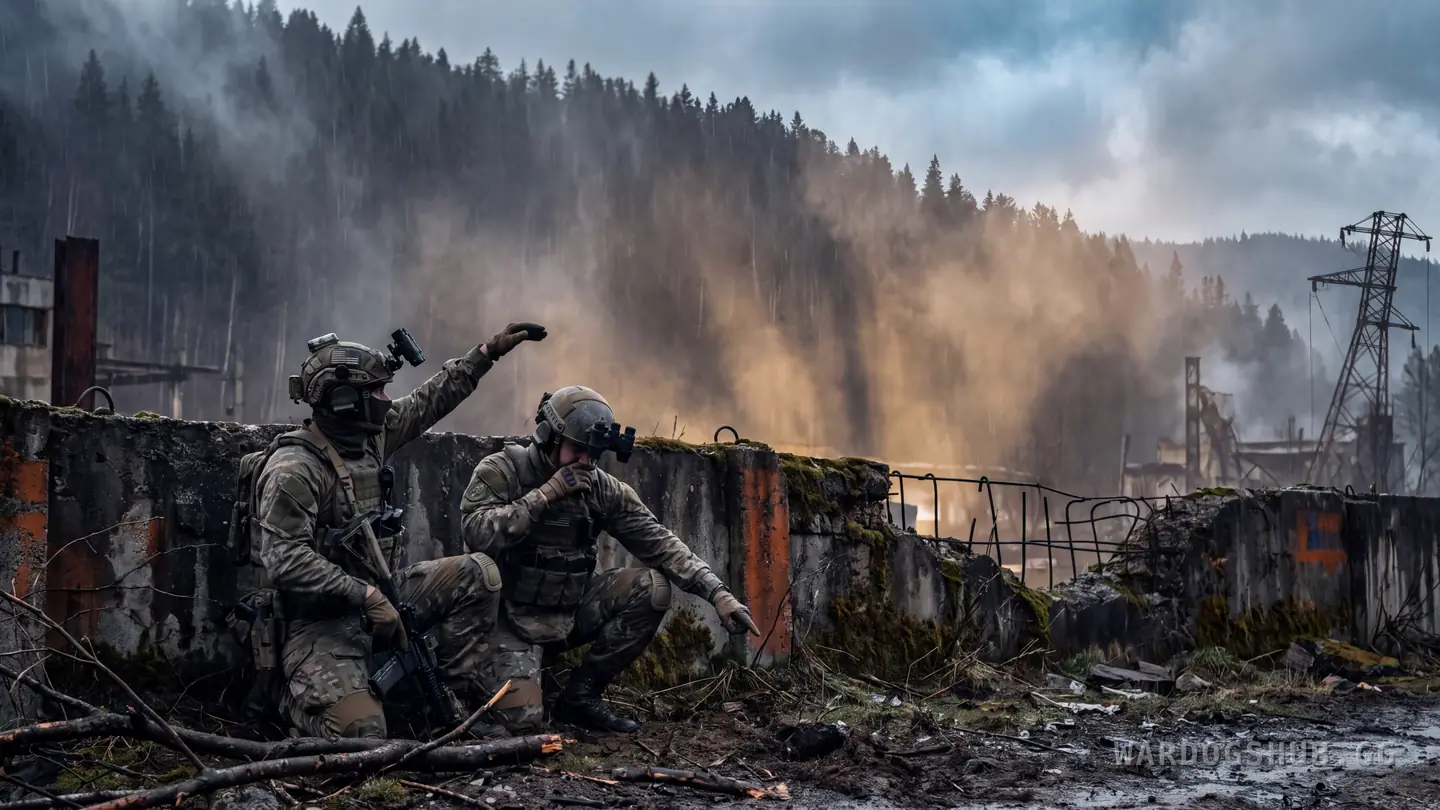
Where both reach, you get both numbers and you choose. Where only one reaches, the choice has been made for you — which brings us to the floor.
The SPH-2 cannot shoot short
This is the single most useful thing on this page.
On level ground the SPH-2's low arc does not reach inside about 1,070 m. Below that, no elevation on the flat trajectory will put a shell on target, and the high arc is the only option you have. The platform's minimum is about 745 m, so there is a band roughly 325 m deep — from 745 to 1,070 m — where a gunner reaching for the fast, flat shot out of habit will find it simply is not available.
The practical consequence: a target at 900 m has to be lobbed. Time of flight goes up, and if that target is a vehicle it will very likely have moved. Against anything mobile inside 1,070 m, the SPH-2 is a bad tool and you should be asking the mortar or a launcher instead.
The calculator only lists the arcs that reach, so inside that band it offers the high arc alone rather than letting you remember the number.
Your shells will not land where you aim
Here is the part that reframes everything above it.
Both platforms have an intrinsic grouping. The SPH-2 holds 10 MOA and the mortar 50 MOA. That is an angle, not a distance, which means it opens up the further you shoot — the same gun is tight up close and loose at range:
| Platform | At | Group |
|---|---|---|
| Mortar | 200 m | ±2.9 m |
| Mortar | 685 m | ±10.0 m |
| SPH-2 | 1,000 m | ±2.9 m |
| SPH-2 | 2,660 m | ±7.7 m |
A mortar at the far end of its reach puts shells across about ten metres whatever you dial. That is the difference between an infantry squad and an empty field. It is also why the mortar is a genuinely poor precision weapon at range and an excellent one at 200 m, where the same angle closes to under three metres.
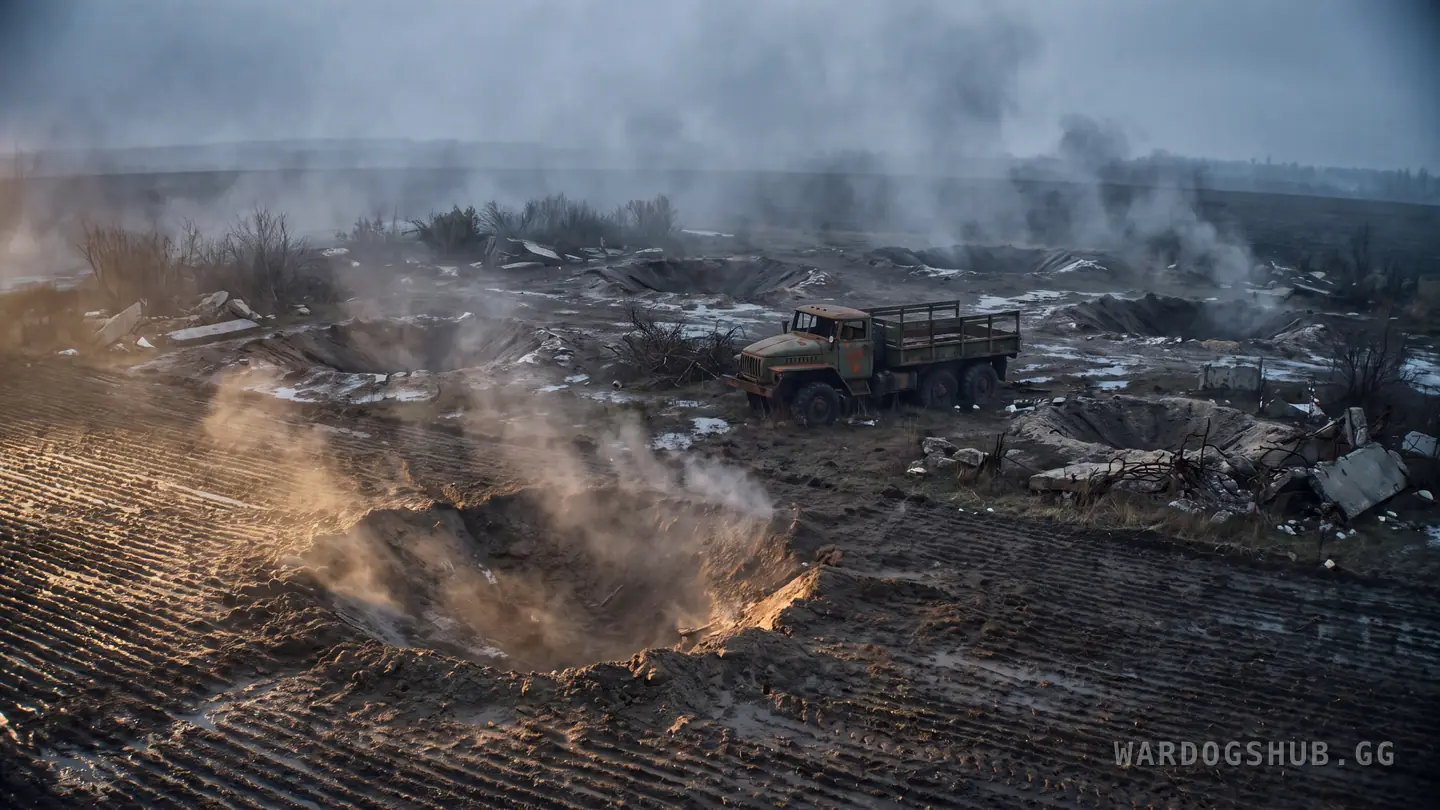
How far does the WARDOGS mortar actually reach?
About 685 m on level ground, and it will not land a shell inside about 50 m.
That is what the shell does when it is simulated rather than looked up: its launch speed, its drag and the tube's elevation limits, flown out step by step. It also closes the argument that ran through the playtests, when one community firing table gave the L81 a 684 m ceiling and another published calculator gave it 3.1 km. The simulation lands within a metre of the short figure, and the calculator that once printed 3.1 km now gives the mortar about 700 m. The catalogue entries describe the L81 as short-range indirect fire, and a few hundred metres is exactly that.
What the level-ground number hides is height. Downhill the shell carries — about 735 m to a target 100 m below the tube. Uphill it falls short — about 625 m to a target 100 m above. On a map built around a river valley that is the difference between reaching the far bank and not, which is why the mortar calculator reads the terrain under both positions instead of trusting the flat figure.
The sight runs from 120 to 950, the grouping is 50 MOA, and it fires one arc with one answer per distance.
Where a mortar earns its place
With a reach of a few hundred metres, the mortar's job is a different one from the SPH-2's.
It is cheap, and it is where your FOB is. The SPH-2 costs real money and a crew; the mortar costs build resources at a base you were going to plant anyway. That makes it the artillery you actually have in most matches.
It is for static targets. Its one arc is a lobbed arc, so the shell is slow. Against anything moving you are cratering the road behind it. Against a rooftop, a tower, a held building or a dug-in FOB — targets that cannot leave — it is the correct tool and the SPH-2 is overkill.
It punishes clustering. People stack on objectives and on high ground because both are good. A mortar makes both expensive, which is worth more than kills: the pressure moves people off the position, and moving people are people your rifles can shoot.
And it is loud in both directions. Firing tells the enemy where you are as clearly as it tells them where you are aiming. Which is the next problem.
Fire, then move
Bring a spotter
Indirect fire is a two-person job and the second person is the one who matters. Someone has to see where the shell landed, and it is not going to be the player standing at the tube.
Split it properly: the gunner stays with the gun and touches nothing but elevation and azimuth. The spotter has eyes on the target and calls corrections in the only vocabulary that works — left, right, short, long, with a rough distance. "Fifty short" is an instruction. "You missed" is not.
Without a spotter you are firing at a map and hoping. With one, the loop below closes in two shells.
Range with one shell, then walk it on
Once you accept the group, the correct technique falls out of it. You are not calculating a kill. You are landing a first shell somewhere useful and correcting from where it actually lands.
- Solve for the target and fire one. Not a salvo. A salvo before you have a correction is four shells spent on the same error.
- Watch where it lands, not whether it hit. The useful information is the offset — long, short, left, right — and roughly how far.
- Correct in metres, not in feel. On the calculator, drag the target marker to where the shell actually landed and read the difference. That is your error, and you apply it in the opposite direction.
- Then fire for effect. Now a salvo earns its cost, because every shell in it carries the correction.
Two things will push your first shell off even when the arithmetic is perfect, and both are worth planning around.
Height. A level-ground solution assumes the gun and the target sit at the same height, and Bakurani does not oblige. Shooting from the valley floor up onto a ridge falls short; shooting down off a ridge carries past. The calculator reads the terrain under both positions and corrects for it, but only for the points you place — a gun sited from memory is still a guess, so put it where it really stands.
How the SPH-2 is parked. It is a vehicle, and its attitude changes where the barrel actually points — dial a perfect elevation on a slope and you do not get that elevation. In the gunner's view, the two small markers either side of the vehicle silhouette show lateral tilt. Get them level. When a good firing position and flat ground disagree, take the flat ground; you can correct for distance, you cannot correct for a gun that is lying to you.
Then leave
Every shell you fire is a line drawn from the impact back to you, and the enemy can follow it. Artillery in this game is not killed while it is shooting, it is killed a minute afterwards, in the same spot.
So build the displacement into the plan rather than treating it as a reaction:
- Fire the mission, not the afternoon. Correct, fire for effect, stop. A tube that keeps firing from one position is a tube somebody is already driving toward.
- The SPH-2 moves; use that. It is the whole reason it is self-propelled rather than towed. Relocating costs you the pre-solved positions you had worked out, which is exactly why you pre-solve more than one.
- The mortar cannot run, so it needs the FOB defended and it needs cover overhead. It is a fixed emplacement — its survival is a fortification problem, not a mobility one.
- Protect the spotter. They are forward, they are static, and they are the cheapest way for the enemy to blind your guns without ever finding them.
Counter-battery cuts both ways. If shells are landing on you, someone else is parked in an obvious firing position with a slow arc and a long reload — and they have the same problem you do.
The shell camera, and the three-round battery
The mortar hands you something most games make you earn with a second player: a camera that follows the shell down. It is the reason a solo mortar works at all, and since launch it has become the most argued-about thing in WARDOGS.
Two things players have worked out, and both change how the tube is fired:
- Impacts show on the map. The gunner sees where their own rounds landed, so ranging no longer needs a spotter with eyes on. Against a target somebody has already spotted, the map gives you the distance outright.
- The camera can be cancelled. Pressing C drops you out of the shell view and back to the tube, and the technique built on that is a three-round battery: load three, fire, cancel, fire, cancel, fire, then ride the last shell down and correct while the first two are still falling. Reloading continues while you are in the camera, so the cancel is the difference between one shell a cycle and three.
That is the whole argument in one paragraph. A mortar costs build supplies at a base you were building anyway, needs no second player, and lands three shells before anyone can react — which is why threads asking for the camera to be removed appeared within five days of launch, and why some players want a cap on mortars per FOB or a team-points gate like the one on APCs. Bulkhead has not responded to any of it, and nothing in Patch 0.11 touches mortars.
When the shells are landing on you
The complaint that the first team to get a mortar up dominates the opening of a match is now the loudest one in the forum, and the answers players have found are worth more than the argument.
Counter-battery, cheaply. A mortar built to kill another mortar is disposable. It does not need a walled base, a drill or an anti-air emplacement: a FOB, a Large Hammer, enough supplies on you and a truckload of ammunition, sited somewhere nobody is looking. Read the range off the map if the enemy tube has been spotted, fire the three-round battery, and follow the last shell in.
Do not stack the base. A mortar earns most of its kills against people clustered inside a FOB, so a third of the team defending one is the condition it feeds on rather than the answer to it.
Watch what the tube is eating. Mortars fire by converting the base's ammunition supply into shells, and so does the anti-air emplacement. A mortar built before the AA is a mortar drinking the supply your helicopters' counter needs — which is the argument for walls first, anti-air second, guns last. How to build a FOB that holds →
Overhead cover is limited and clunky. There is no free-form roof in the hammer options: players report the only practical cover is the prefabricated bunker, knocked through and reinforced, which is two high and will not fit a spawn vehicle. Until that changes, a tower is both the best FOB anchor and the first place every enemy gunner points at in the opening fifteen minutes.
Where to set up on Bakurani
Bakurani is one town on a valley floor with cultivated ground around it and steep forested ridges either side. The three faction spawns — Valkyra to the east, Manticore to the west, Lonestar to the south — sit out on that floor, arranged around the middle, and the valley road is the only sustained flat route across the map.
That geography does most of your thinking for you:
- The road is the target. It is the one place traffic has to go, it is flat, and it is long. Pre-solve a couple of points along it before anything is on them.
- Set up on the floor, not the ridge. The ridges are tempting for the view and wrong for the gun: you want flat ground for the SPH-2's attitude, and the flat ground is the valley. Height is a liability here, not an advantage.
- Mind your own arc. From the floor, a ridge between you and the target means the high arc or nothing. Check the ground before you commit the gun, not after.
- Stay inside the band. An SPH-2 parked at spawn is often outside its own low-arc floor, which costs you the fast shot before the match starts. Set up so the fight sits between about 1,070 and 2,660 m if you want both arcs available.
You can walk all of this on the Bakurani map, which carries the game's own place names, or drop a gun and target straight onto it in the mortar and artillery calculator and see which rings the fight falls inside.
What nobody has confirmed yet
The honest part, because this is the section most guides skip.
No range on this page is official. The mortar figures stopped disagreeing once the shell was simulated, but community tools agreeing with each other is not a table from Bulkhead. Until somebody builds a tube and paces a shot, treat every range as a strong estimate rather than a fact.
The trajectories are a community model, not a published table. The calculator flies each shell from its launch speed and drag rather than reading rows measured by players, and nothing in it was issued by Bulkhead. It agrees with the ranges the platforms advertise, but it is marked reported for a reason, and the first shell of any engagement is what tells you the truth. Our full sourcing rules are on methodology.
The SPH-2 may have a second shell. The generic 155 mm round is the one these numbers describe. A separately tagged expensive 155 mm also exists and is a materially different projectile — a fifth of the mass, a fraction of the drag — so it will not share this table. Whether the SPH-2 can actually load it is unsettled. If it can, it needs its own numbers.
Nothing here accounts for wind, if wind exists. Nobody has established that it does.
Fire one, watch it land, correct, then fire for effect.