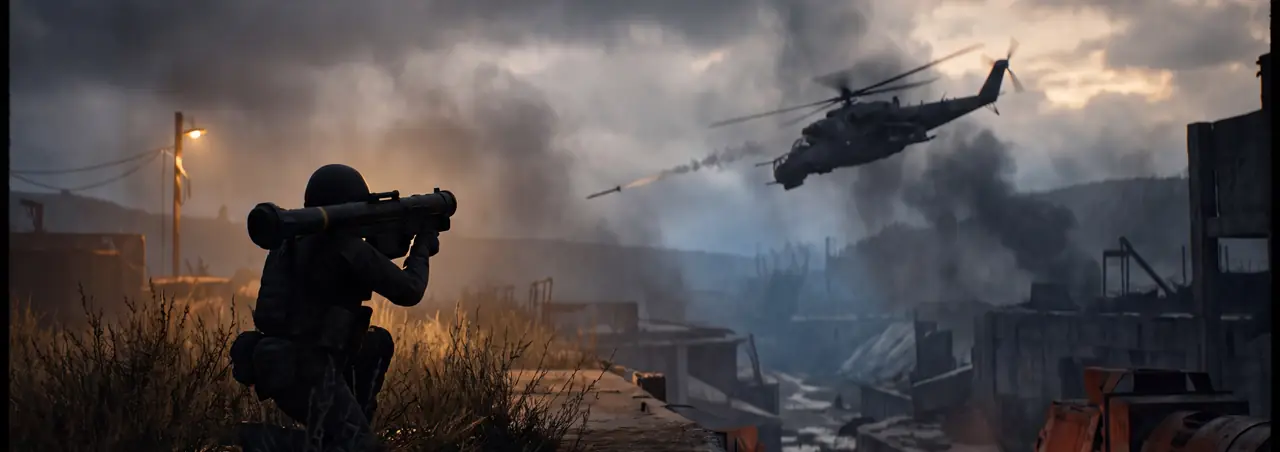
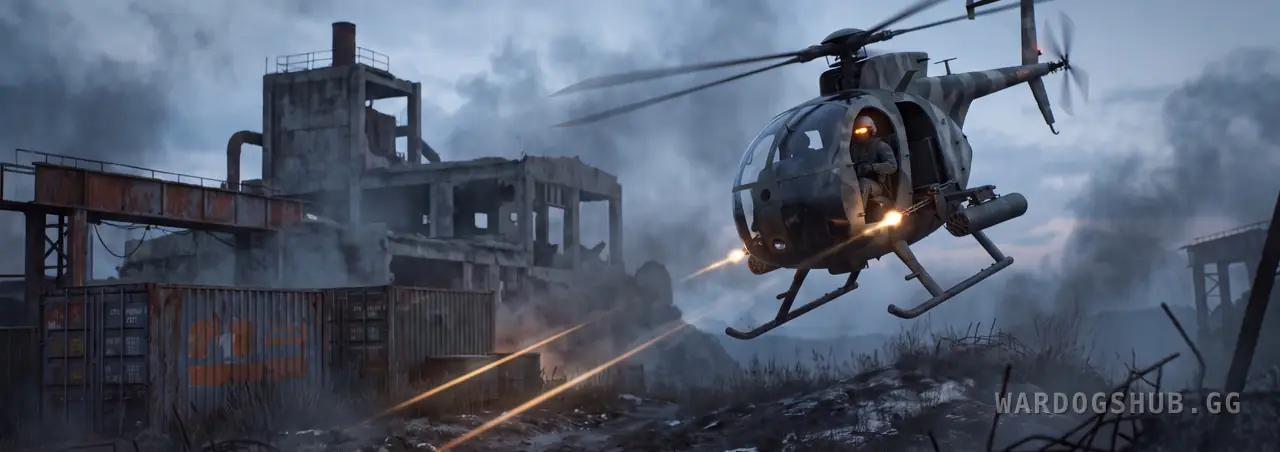
Plenty of people can fly a WARDOGS helicopter now. Far fewer can hit anything from one — and that gap, not the landing, is what separates a pilot who can afford to keep flying the HAVOC from one who loses it on the first run.
This guide is for the second half of the job: aiming, the two manoeuvres that keep your guns on a target, what each weapon can actually kill, and the route that keeps anti-air off your back. It assumes you can already hover, land and survive a lock. If you cannot yet, how to fly helicopters in WARDOGS comes first, and it also has the mouse and keyboard settings this guide builds on.
| At a glance | |
|---|---|
| Aircraft | AH-6M [Miniguns], AH-6R [Rockets], Z20 LAKOTA [Miniguns], HAVOC |
| Cheapest gun | AH-6M, $7,000 a flight, Pilot 4 and $50,000 to unlock |
| Biggest threat | Buildable anti-air, a HAVOC if you are not in one |
| Kill XP | 250 per player killed from an air vehicle, down from 300 in Season 1 |
Control your speed, or the nose will not follow you
The faster you fly, the less your yaw does. Airflow over the airframe grows with speed and pushes the helicopter to line up with the air rushing past it — the weathervane effect — so at speed your rudder is fighting the wind for control of the nose.
That matters because aiming is nose control. A strafing run that starts too fast is a run where you point roughly at the target and hope.
The fix is to begin slow and let the run build. Good attack runs start somewhere around 0 to 30 km/h and finish around 80 to 100 km/h. Do not fly to the numbers. Learn what that feels like — nose responsive at the start, loosening as you close — and treat the moment it stops answering you as the end of the run.
Aim with your whole arm, and make the first burst count
You are usually above your target, which means you are fighting the helicopter's own acceleration to keep the crosshair on it. If you have ever used an aim trainer, it is a smoothness task: stay centred on a target while accounting for acceleration. The difference is that here the target is barely moving and you are the thing accelerating.
Do it with your whole arm. Your wrist has too little range to correct against a whole helicopter's worth of movement; keep it for the small final adjustments. Being comfortable all over your mouse pad, in every direction, pays off here more than anywhere else in the game.
Where to put the crosshair
- Miniguns: put the target in the top-right quadrant of the crosshair.
- Rockets on the AH-6R and the HAVOC: dead centre.
Get it right before you pull the trigger, every time. A burst that lands near a group of infantry startles them and they scatter. A burst that lands on them kills the first before anyone reacts, and the rest of the group becomes easy. First-shot accuracy is where your ammunition, your time over the target and your safety all come from.
To practise, change one thing at a time. Keep your sensitivity within about 10% of the settings in the flying guide, and judge each flight on two things only: how often the first burst landed, and how fast you were going when you fired it.
Circle-strafe instead of flying through the target
Every attack pilot has done both of these. You over-commit to a target, chase the extra second of fire and fly the nose into the ground behind it. Or you strafe straight through a position that looked empty and get lit up by ten infantry as you fly away from it.
The circle strafe fixes both. It is an orbit with your nose held on the target the whole way round:
- Fly slightly past the target.
- Roll towards it and use yaw to swing your nose onto it.
- Keep rolling, pitching and yawing together so the lowest point of your rotor disc points at the target.
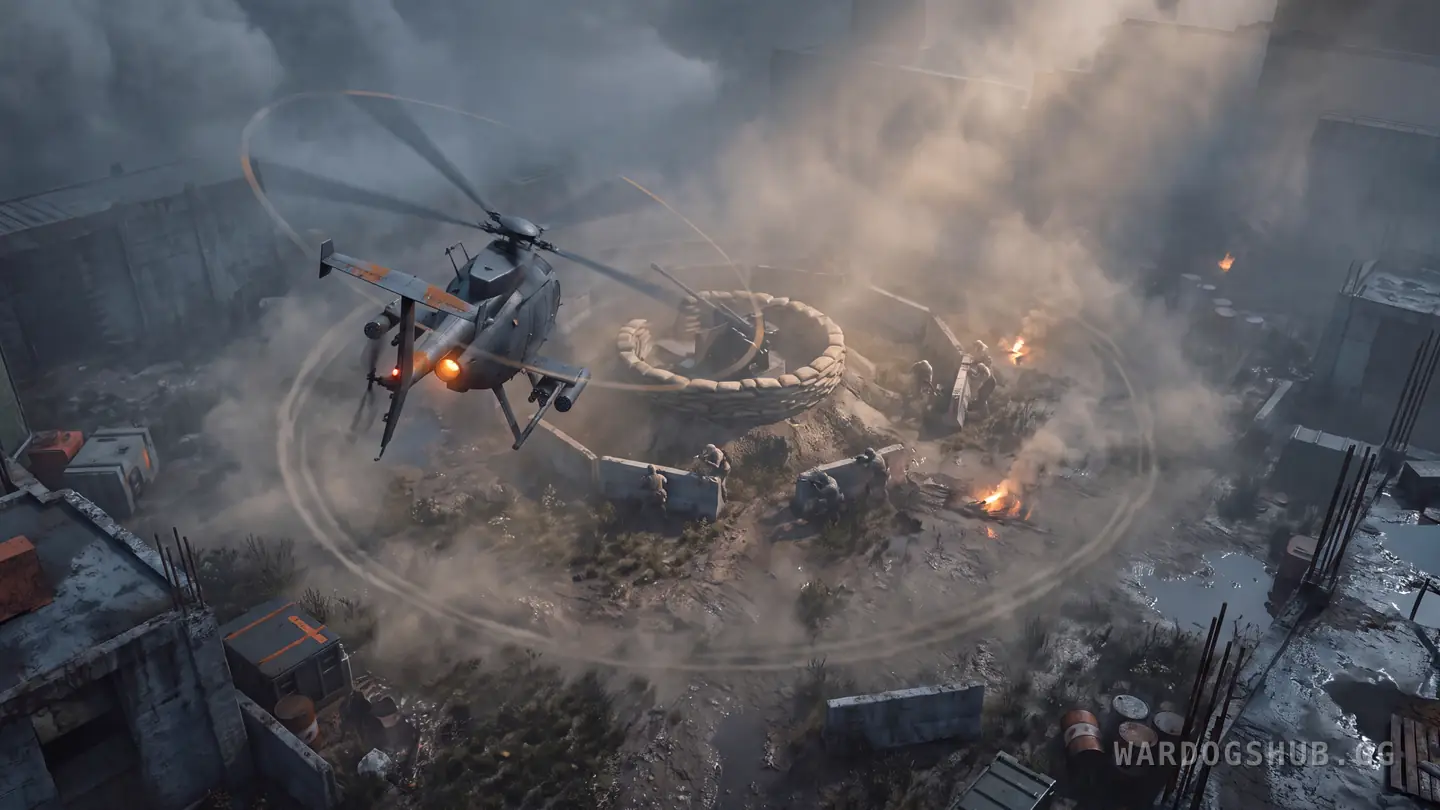
Your crosshair stays on the target for as long as you want to keep firing. And you are always moving sideways relative to anyone shooting back, which makes you much harder to hit than a hovering helicopter or one flying straight at them.
The cost is yaw — a lot of it, continuously. That is easier to sustain on the Default control scheme than on Rifle Aim. If you fly Rifle Aim, you need a yaw key: orbiting clockwise, to the right, means holding yaw left the whole way round.
Throw it round with a quick 180
Sooner or later you need to face the other way now — after a strafing run that went wrong, or with another helicopter on your tail. The fastest way round is to throw all your energy in one direction: pitch up while yawing and rolling the same way, left or right, all at once.
It bleeds speed hard and swings the helicopter round almost on the spot. That is exactly what you want in a Little Bird duel, where the two aircraft usually pass each other and the fight becomes a race to be first to point guns at the other pilot.
Know what you can kill, and with what
A good attack pilot picks targets by what is in front of them and what they are carrying. These are the figures pilots are working to in the Early Access build. They are approximate: where the rounds land moves them.
| Target | Miniguns | Rockets |
|---|---|---|
| Little Bird | Kill the pilot | 4 |
| Z20 LAKOTA or HAVOC | Kill the pilot | 6 at least, usually 10–12 |
| Tank | Not realistically | 12–18 |
| Spawn vehicle | Shoot the dish to disable it | — |
| CIWS, still being built | Quick kill | Quick kill |
| CIWS, finished | About 500 rounds | About 18 |
| SAM launcher | — | About 12 |
Enemy helicopters
With miniguns, every kill on an aircraft is a pilot kill — nobody has armour-piercing rounds yet. As you look head-on at a Little Bird or a Lakota, the pilot sits on the left.
With rockets it takes four on a Little Bird and at least six on a Lakota or HAVOC, though it is usually closer to ten or twelve. If a HAVOC comes for you in anything else, run. It is deadly against a slow or head-on target, but it cannot reliably kill a Little Bird that never stops moving.
Tanks and spawn vehicles
You need rockets for armour — roughly 12 to 18. Stay above the height the turret can elevate to while you fire them, or the tank will make you pay for it. A spawn vehicle is easier: shoot its dish with the miniguns and it stops working as a spawn.
The CIWS
The anti-air gun players call the Sea Whiz is the one to fear, and the best counter is to kill it before it finishes building. Since Bulkhead's 2 October hotfix, a CIWS destroys a HAVOC in about 6 seconds, down from about 12, so do not hover in its line of fire while you work out a plan. Unfinished, it dies quickly even to miniguns. Finished, it has far more health, so take it apart in order:
- Fly in low and kill the gunner as fast as possible.
- Circle-strafe the area and kill the infantry, watching for anyone who tries to climb on the gun.
- Once nobody is left who can crew it or hit you with an RPG, destroy the gun itself — about 500 minigun rounds held on it with a circle strafe, or about 18 rockets over a few runs.
SAM launchers
Destroying SAM launchers is slow work, and it is usually not worth it. Take them on with rockets — about 12 — when you can see two of them in different places on the map. One launcher you can keep in front of you. Two can box you in from directions you cannot watch at once.
Read the lock tone, then get below radar
A beeping tone means a launcher is acquiring a lock. A hard, steady tone means the lock is complete and a missile could be in the air. Drop below roughly 10 metres the moment the beeping starts, because a lock cannot hold down there — and if the steady tone persists once you are low, flare. The flying guide covers the tones and free look in detail.
What changes for an attack pilot is what happens next. A SAM's missile gives its position away, so note where it came from, sneak back and kill the player crewing it. A shoulder-launched missile is harder to punish. That player can fire and duck back into cover, so do not burn a whole run hunting them.
Sweep the enemy FOBs before you hunt kills
The route that works out of spawn in an attack helicopter starts with the enemy's Forward Operating Bases, not with the hot zone — and if you need the ground-side view of what you are hitting, see how to destroy a FOB. Sneak up on each spot the enemy teams usually build in, one after another. You are there for kills, but mostly you are there to catch anti-air before it is finished.
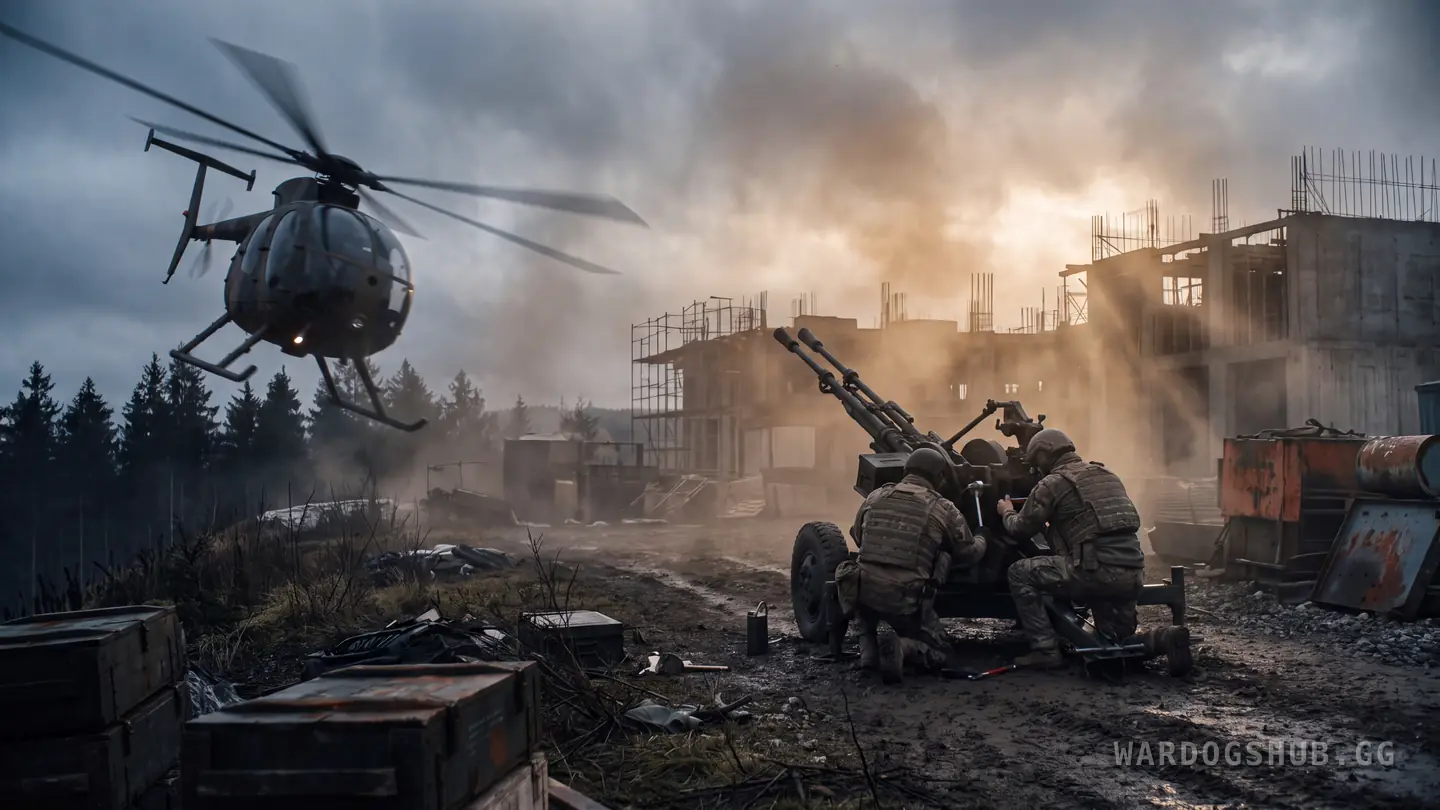
Those spots are the same most matches, and you only learn them by playing the map. On Bakurani, one team reliably sets up at the church and another around the shipping container yard or the towers behind it.
With the FOBs checked and cleared, open the scoreboard and look at how many of each team are in the zone. A lot of players in the zone means the fight is in the hot zone. A low count means most of them are back at their bases, and that is where your next run should go.
Then check the FOBs again, and keep checking them. Most pilots who complain about anti-air are flying into launchers that nobody cut down while they were still going up.
When you do go in on a FOB, expect a target-rich mess: players peeking, shooting back and reviving each other. A circle strafe keeps constant pressure on all of it. It also pays less than it did — Season 1 cut a player kill from an air vehicle from 300 XP to 250.
Hand the FOB you cannot clear to your artillery
It is tempting to take a whole FOB on alone. It is also usually slower and riskier than it needs to be. If your team has artillery or a mortar, tell them where the enemy is and let them have the free kills. Our artillery guide covers what they need from you.
What we still do not know
The unlock gate and the kill XP are Bulkhead's own Season 1 notes, and the purchase price is ours from the Closed Alpha. Everything else here — the rocket and round counts, where the crosshair should sit, the speeds and the lock-break altitude — is how pilots are flying the Early Access build. Bulkhead has not published a damage table for any aircraft weapon.
Nobody knows yet when armour-piercing minigun rounds arrive, or whether the next balance pass moves the CIWS and SAM numbers. The 2 October hotfix changed how fast the CIWS kills a HAVOC, not how much it takes to kill the CIWS, so the counts above still stand until pilots report otherwise. When it does, the table above is the part that changes first.
Until then: slow down, aim before you fire, orbit instead of passing, and clear the FOBs first.